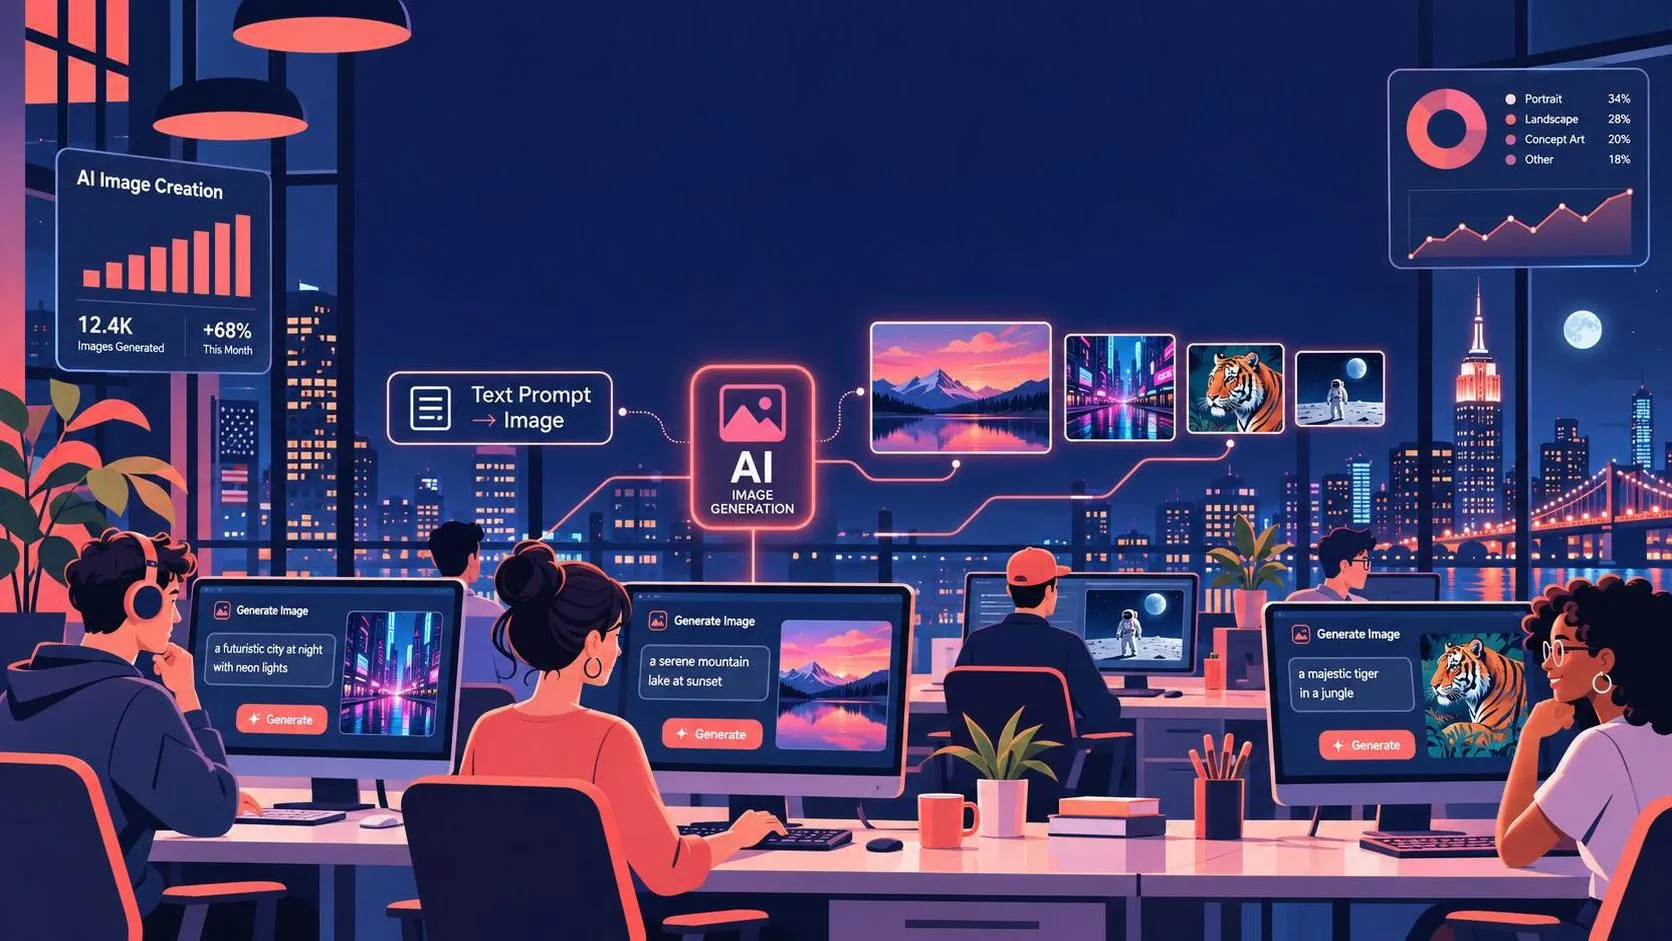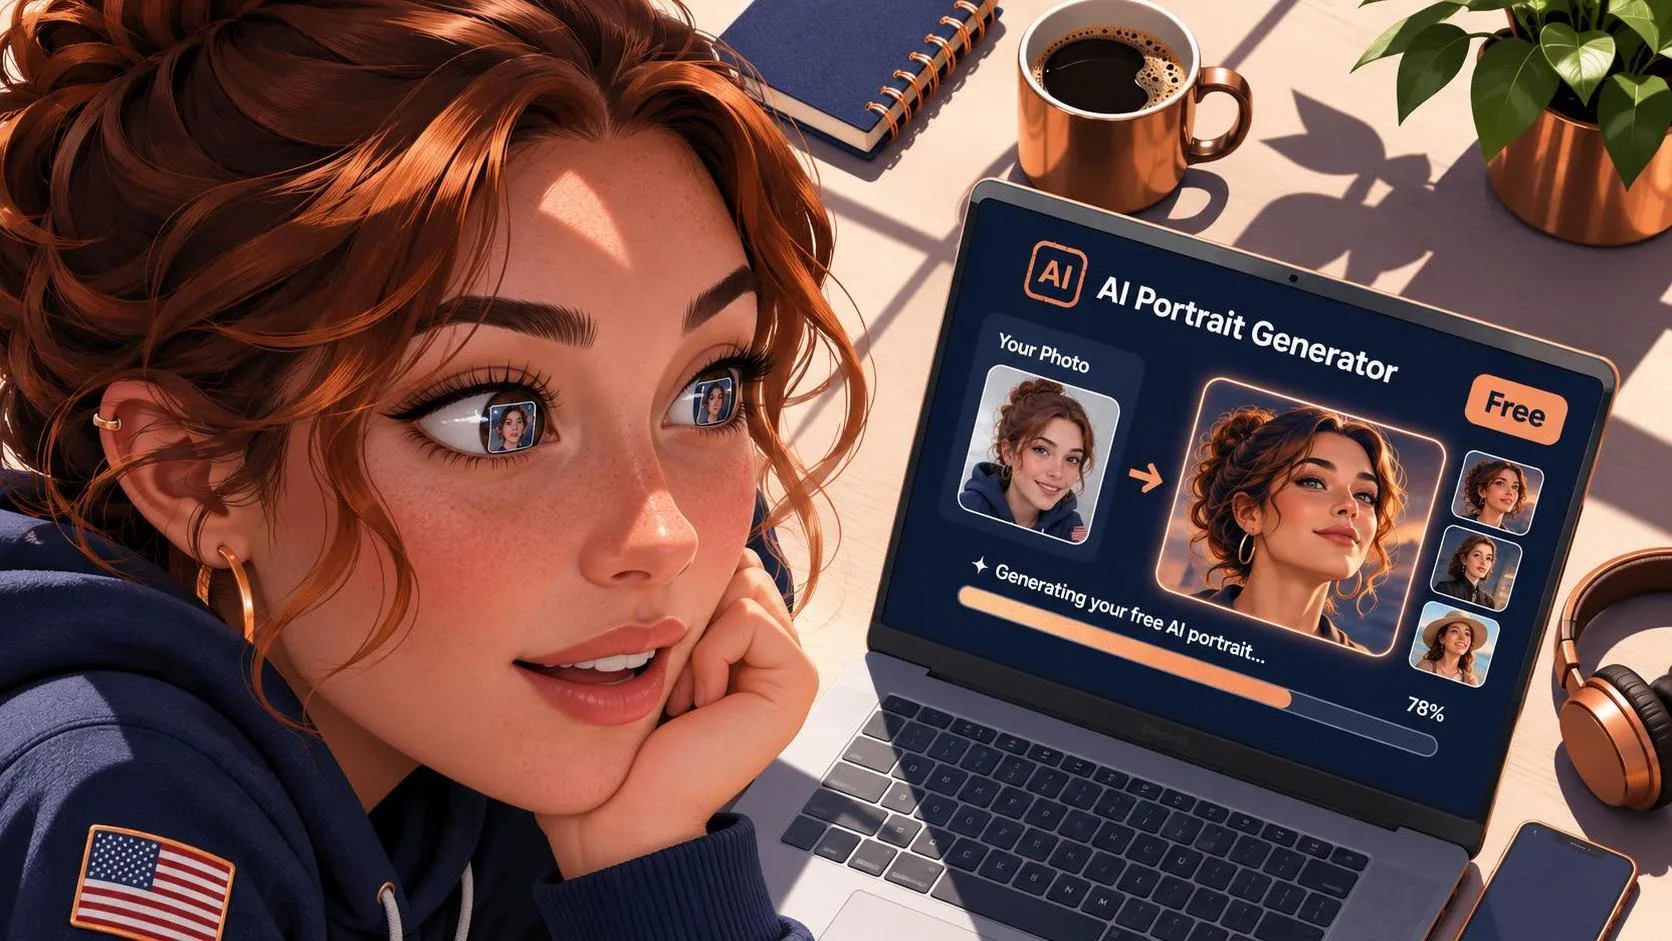
The first image is rarely the finished image. That is especially true when you are using ai image generation tools for a product launch, social campaign, pitch deck, or personal experiment. A charming result can still have the wrong bottle shape, unreadable package text, awkward hands, or a composition that leaves no room for a headline. The useful skill is not producing one lucky picture. It is learning how to direct, inspect, and revise a visual until it serves a real purpose.
I run The Image Guide as an independent publication focused on practical image-making with ChatGPT’s Image2.5 capability. We are not affiliated with OpenAI or ChatGPT unless an official partnership is announced. My approach is simple: start with a sketch, define the visual problem, and treat every generation as part of a design process rather than a magic trick.
What to look for in ai image generation tools
The best ai image generation tools are not necessarily the ones that create the most dramatic first result. Start by asking what you need the system to handle. Can it follow a reference image? Does it preserve a product’s general shape across revisions? Can it create a wide composition with useful negative space? Does it give you enough control over lighting, camera angle, materials, and mood?
For a small online shop, consistency may matter more than cinematic detail. A maker selling ceramic mugs might need six images with the same mug, pale background, and soft morning light. A restaurant marketer may need a warm tabletop scene sized for Instagram, with empty space above the plate for copy. A freelance designer creating a mood board may care more about fast exploration than exact brand accuracy.
Price and access also matter. Free plans can be useful for learning, while paid subscriptions may offer higher limits, faster queues, or additional editing features. Do not choose based on a feature list alone. Make the same test brief in each service and compare the results at the size and format you actually use.
A reliable workflow from brief to first draft
Before opening any ai image generation tools, write a one-sentence brief. For example: “Create a clean hero image for a reusable steel water bottle, photographed on a sunny trail, with open space on the left for a headline.” This sentence gives the image a job. Without it, prompts often become piles of attractive adjectives with no clear priority.
Next, describe the subject, setting, composition, lighting, and intended use. Mention the camera viewpoint in ordinary language, such as eye level, close crop, overhead view, or three-quarter angle. Add practical constraints: portrait orientation, room for text, no extra objects, realistic proportions, or a calm palette. If the image will support a website banner, say so. A square social image and a wide landing-page header need different compositions.
Generate a first draft and inspect it like an art director. Is the subject immediately clear? Does the visual hierarchy lead the eye where it should? Is the background helping or competing? Are labels, logos, fingers, jewelry, and repeated objects believable? Save the result, even when it fails. A flawed draft often reveals which instruction needs to become more specific.
Where ai image generation tools help most
These systems are particularly useful during early concept development. You can explore three packaging directions before building a polished mockup, test several café poster moods, or create a visual reference for a photographer. They are also helpful when a project needs atmosphere rather than documentary accuracy: a misty morning, a retro print texture, a playful paper collage, or an imagined interior for a design presentation.
For product work, use generated scenes carefully. A tool may produce a beautiful bottle but subtly change the cap, label, or proportions. Place the actual product reference in the workflow when possible, then request a restrained environment around it. Ask for a neutral surface, controlled shadows, and realistic contact with the table. The image should support the product, not turn it into an unrecognizable cousin.
I also use these tools for thumbnail exploration. Five small compositions can reveal more about an idea than one overworked prompt. Once a direction feels promising, stop generating random variations and revise that direction deliberately. Creative energy is valuable; do not spend it scrolling through near-identical sunsets.
Prompt revisions that produce useful changes
A revision works best when it identifies one problem and one requested change. If the first result has a nice mood but a crowded layout, say, “Keep the warm morning light and the centered bottle. Remove the loose leaves and place the bottle on the right third, leaving clean space on the left.” This gives the system something to preserve and something to adjust.
Avoid correcting everything at once. If you change the color, lens, setting, pose, product, and layout in a single instruction, you will not know which change caused the improvement or failure. I usually revise in passes: composition first, subject accuracy second, surface and lighting third, then small cleanup. The order is not sacred, but the habit of isolating changes makes the process easier to understand.
When text matters, generate a flexible visual and add final typography in Figma, Canva, Photoshop, or another layout tool. Image models can create convincing letter-like marks without producing dependable copy. For a business logo, legal label, price, or event date, manual design remains the safer finishing step.
Comparing results without chasing novelty
When testing ai image generation tools, use a simple comparison sheet. Record the prompt, reference material, aspect ratio, output size, number of attempts, and the problem you noticed. Then score each result on usefulness, subject consistency, composition, editability, and visual quality. A spectacular image that cannot leave room for your headline may be less valuable than a quieter image with excellent structure.
Run a controlled test with one brief. For example, request a natural-light photo of a blue notebook on a wooden desk, photographed from above, with space at the top for a title. Keep the brief unchanged, then compare how each system handles the notebook shape, shadows, grain, color, and empty space. This is more informative than watching a showcase of unrelated fantasy images.
Also consider your existing workflow. If you already edit in Photoshop, a tool with convenient exports may save time. If you collaborate with a client, clear file naming and version history may matter more than one extra style control. The strongest choice is the one that reduces friction between idea, draft, revision, and delivery.
A practical checklist before publishing an image
Before using a generated visual, check the subject against the original brief. Confirm that no unwanted objects, distorted hands, strange reflections, or accidental words remain. Zoom in on packaging, screens, signs, and jewelry. Review the crop on both desktop and mobile if the image is for a website. A composition that looks balanced on a large monitor can hide the subject when cropped into a narrow phone banner.
Ask whether the image communicates the intended message without a paragraph of explanation. If it is a product image, can someone tell what is being sold? If it is an editorial illustration, does the visual idea read quickly? If it is a mood board, does the image provide a useful direction rather than just a pleasant color palette?
Finally, keep notes about what worked. Save strong prompts in a folder, but save the brief and revision logic with them. The reusable asset is not a magic sentence. It is your understanding of why the composition worked, which details needed correction, and where the image still required human design judgment.
The best starting point is a small assignment
You do not need a grand campaign to learn ai image generation tools. Pick one contained task: a square announcement for a local service, three backgrounds for a product listing, or a concept image for a newsletter header. Write the brief, generate a draft, identify one visible problem, and revise it. That loop teaches more than collecting fifty prompts you have never tested.
Image-making becomes much less mysterious when you pay attention to outcomes. Start with a sketch, keep the useful failures, and let the image earn its place in the project. The goal is not to prove that a machine can make a picture. The goal is to make a picture that helps someone understand, choose, remember, or feel something.