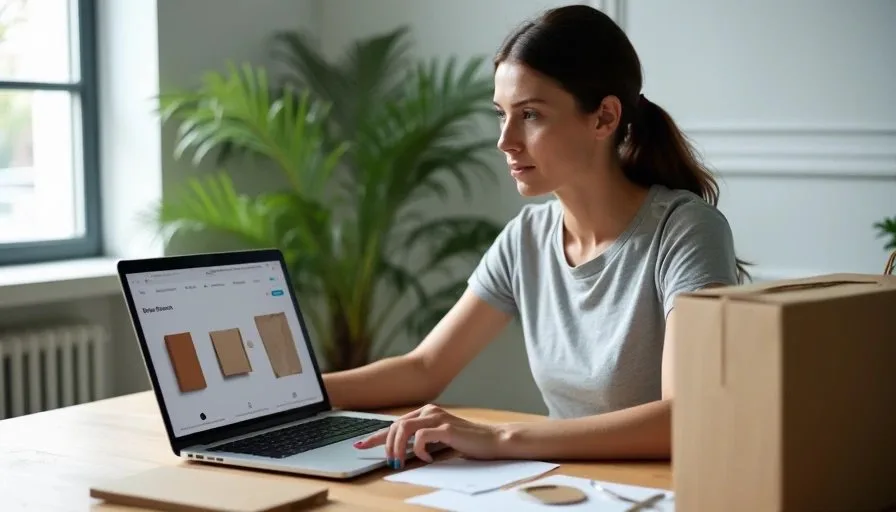
Packaging decisions are expensive to reverse once production begins. Small brands and independent makers often need a faster way to test structure, material feel, and basic label direction before committing to samples or tooling. Image2.5 can support that early exploration when it is used with clear constraints and realistic expectations.
This post outlines a practical process for using Image2.5 to explore packaging ideas before production. It draws on work with small food, ceramics, and personal-care brands that needed to compare options without immediately ordering physical prototypes. The focus is on what the tool can clarify early and what it still cannot replace.
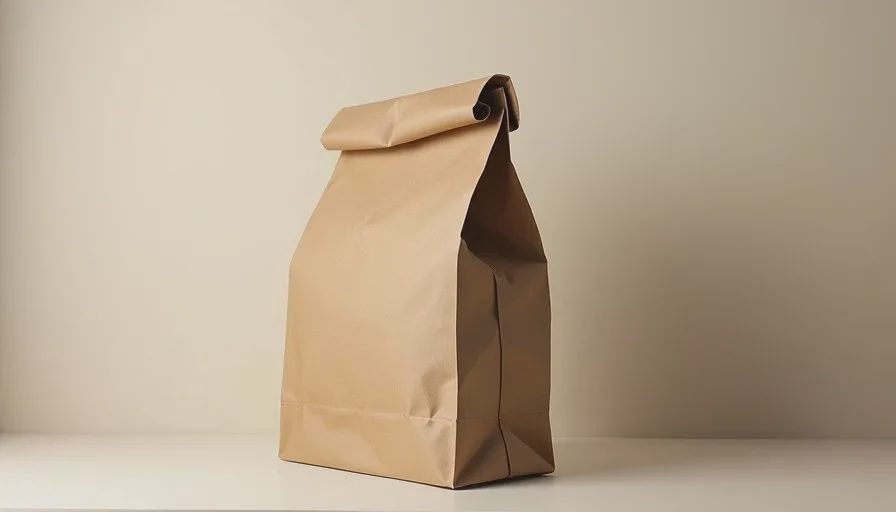
What early packaging exploration needs
Before any generation I clarify the questions the images must answer. Typical early-stage questions include:
Does this overall form feel balanced and appropriate for the product?
How does a matte versus slightly textured surface read?
Where can a simple label sit without fighting the shape?
Does the package feel consistent with the brand’s existing visual language?
These questions are about direction, not final artwork or production specifications. Image2.5 is useful when the goal is to compare directions quickly. It is less useful when the goal is print-ready files or exact dielines.
A focused exploration workflow
The process I use stays deliberately small.
Stage 1: Write a short packaging brief
List the product, the must-protect structural features, the material direction, the label constraints, and the questions this round must answer. Keep it to one page or less.
Stage 2: Lock a core package description
Write one clear paragraph that names the structure, proportions, and surface quality. Reuse this paragraph across all variations so the package itself does not drift.
Stage 3: Generate a clean baseline
Create one neutral product-only frame that shows the package clearly. This becomes the reference for every later comparison.
Stage 4: Test only two or three variables
Change one major element at a time—surface finish, label placement, or a simple structural variation. Keep the locked description identical.
Stage 5: Select and document
Choose the frames that answer the original questions. Save the prompts and a short note about what each direction suggested. This record becomes useful when briefing a packaging designer or a supplier later.
Practical example: small-batch coffee bag
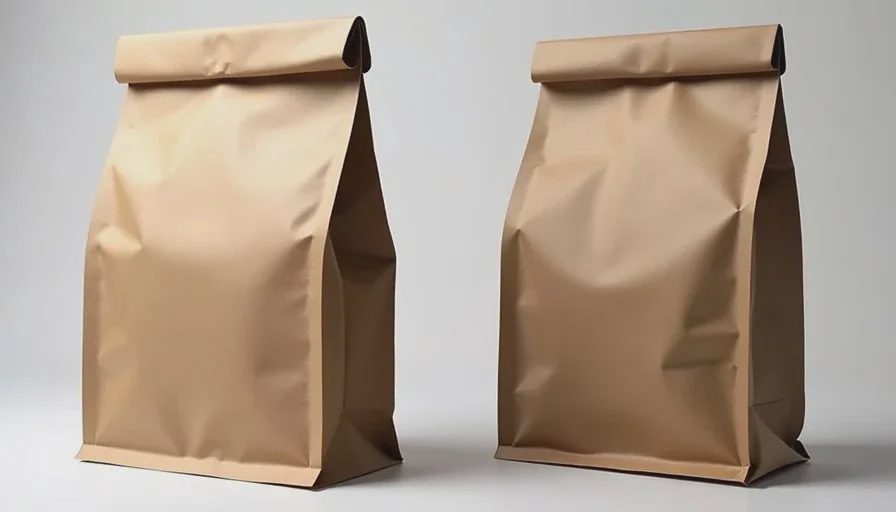
A micro-roaster wanted to explore a new 12 oz bag before ordering a production run. The brief asked whether a wider base felt more stable, how a dry kraft surface read under soft light, and where a simple black label could sit without crowding the form.
I locked the bag proportions and material language, generated a clean baseline, then produced three controlled variations. The frames quickly showed that a slightly wider base felt more grounded and that the dry kraft needed strong protective language to avoid a soft sheen. Label placement tests revealed that a lower centered position left the upper bag cleaner for the brand’s usual hierarchy.
None of the images were production-ready. They were sufficient to decide which physical samples to request next and what to emphasize in the conversation with the bag supplier.
What Image2.5 handles reliably in packaging exploration
Several aspects of early packaging work play to the model’s current strengths:
Overall form and basic proportion comparisons
Material mood (matte, dry, soft-touch versus glossy) when described with physical language and negatives
Simple label placement and hierarchy tests
Quick context frames that show the package in a basic retail or lifestyle setting
These outputs are directional. They help teams decide what to prototype next.
What still requires other methods
Important packaging decisions remain outside reliable Image2.5 range:
Exact structural engineering and dielines
Precise color matching to brand or material standards
Fine typography and regulatory text
Production constraints such as fold strength, barrier properties, or print methods
Final retail-ready artwork
For these elements, physical samples, technical drawings, and professional packaging design are still required. Image2.5 can narrow the field of options; it does not replace the later stages of development.
Prompt habits that improve packaging tests
A few language patterns raise the quality of exploration frames:
Name structural features early and specifically (base width, shoulder line, closure type).
Describe surface quality in physical terms and add clear negatives for unwanted gloss or plastic appearance.
Keep required text extremely short or omit it during form and material tests.
Reuse the identical core package paragraph across every variation.
Limit each generation round to one primary variable.
These habits reduce drift and make side-by-side comparison more meaningful.
Time and decision fit for small brands
A focused packaging exploration round—brief, baseline, three variations, selection—can be completed in a single session. That scale fits the way many independent brands already work: short decision cycles, limited budget for samples, and the need to keep moving without waiting for external studios.
The main value is not the images themselves. The value is the clearer conversation that follows: which forms to sample, which surfaces to request, and which label directions are worth developing further.
A short checklist for the next packaging test
Write a brief that lists the exact questions this round must answer.
Lock one package description and reuse it.
Generate a clean baseline first.
Test only two or three variables.
Select frames that answer the brief and archive the prompts with notes.
This sequence keeps the exploration intentional and tied to real production decisions.
Image2.5 will not design your final packaging. It can, however, help small teams explore form, material, and basic label direction before money is spent on samples or tooling. Used with a tight brief and consistent package language, it becomes a practical early-stage tool rather than a source of disconnected pretty pictures.
Start with the decision you need to make. The generations stay useful from there.